
Adding users and assigning roles
Adding a user takes three pieces of information: their email, the role they’ll have, and the worksite(s) they should access.
Inviting a user
Open Company admin → Users → New.
Fill in:
- Name — display name
- Email — Tero sends the invite here, and this is what they’ll log in with
- Phone — optional
- Job title — optional, displayed on their profile
Click Save & invite. Tero emails the person a one-click invite link. When they accept, they’re prompted to log in (no password — magic-link).
Choosing a role
After the basic profile, scroll to Permissions.
Pick one of the standard roles or a custom role you’ve created. See Roles & permissions matrix for what each role can do.
Common roles:
- Technician — sees own tasks, records work, submits requests
- Worksite admin — full access at one worksite
- Fleet manager — admin across multiple worksites in a company
- Contractor — read-only on assigned projects only
Scoping access to a worksite
Below the role picker, select which worksites this user can access. Worksite admins and technicians typically have one worksite; managers have several.
A user can have different roles at different worksites — e.g. technician at Vessel A but worksite admin at the office.
The user list
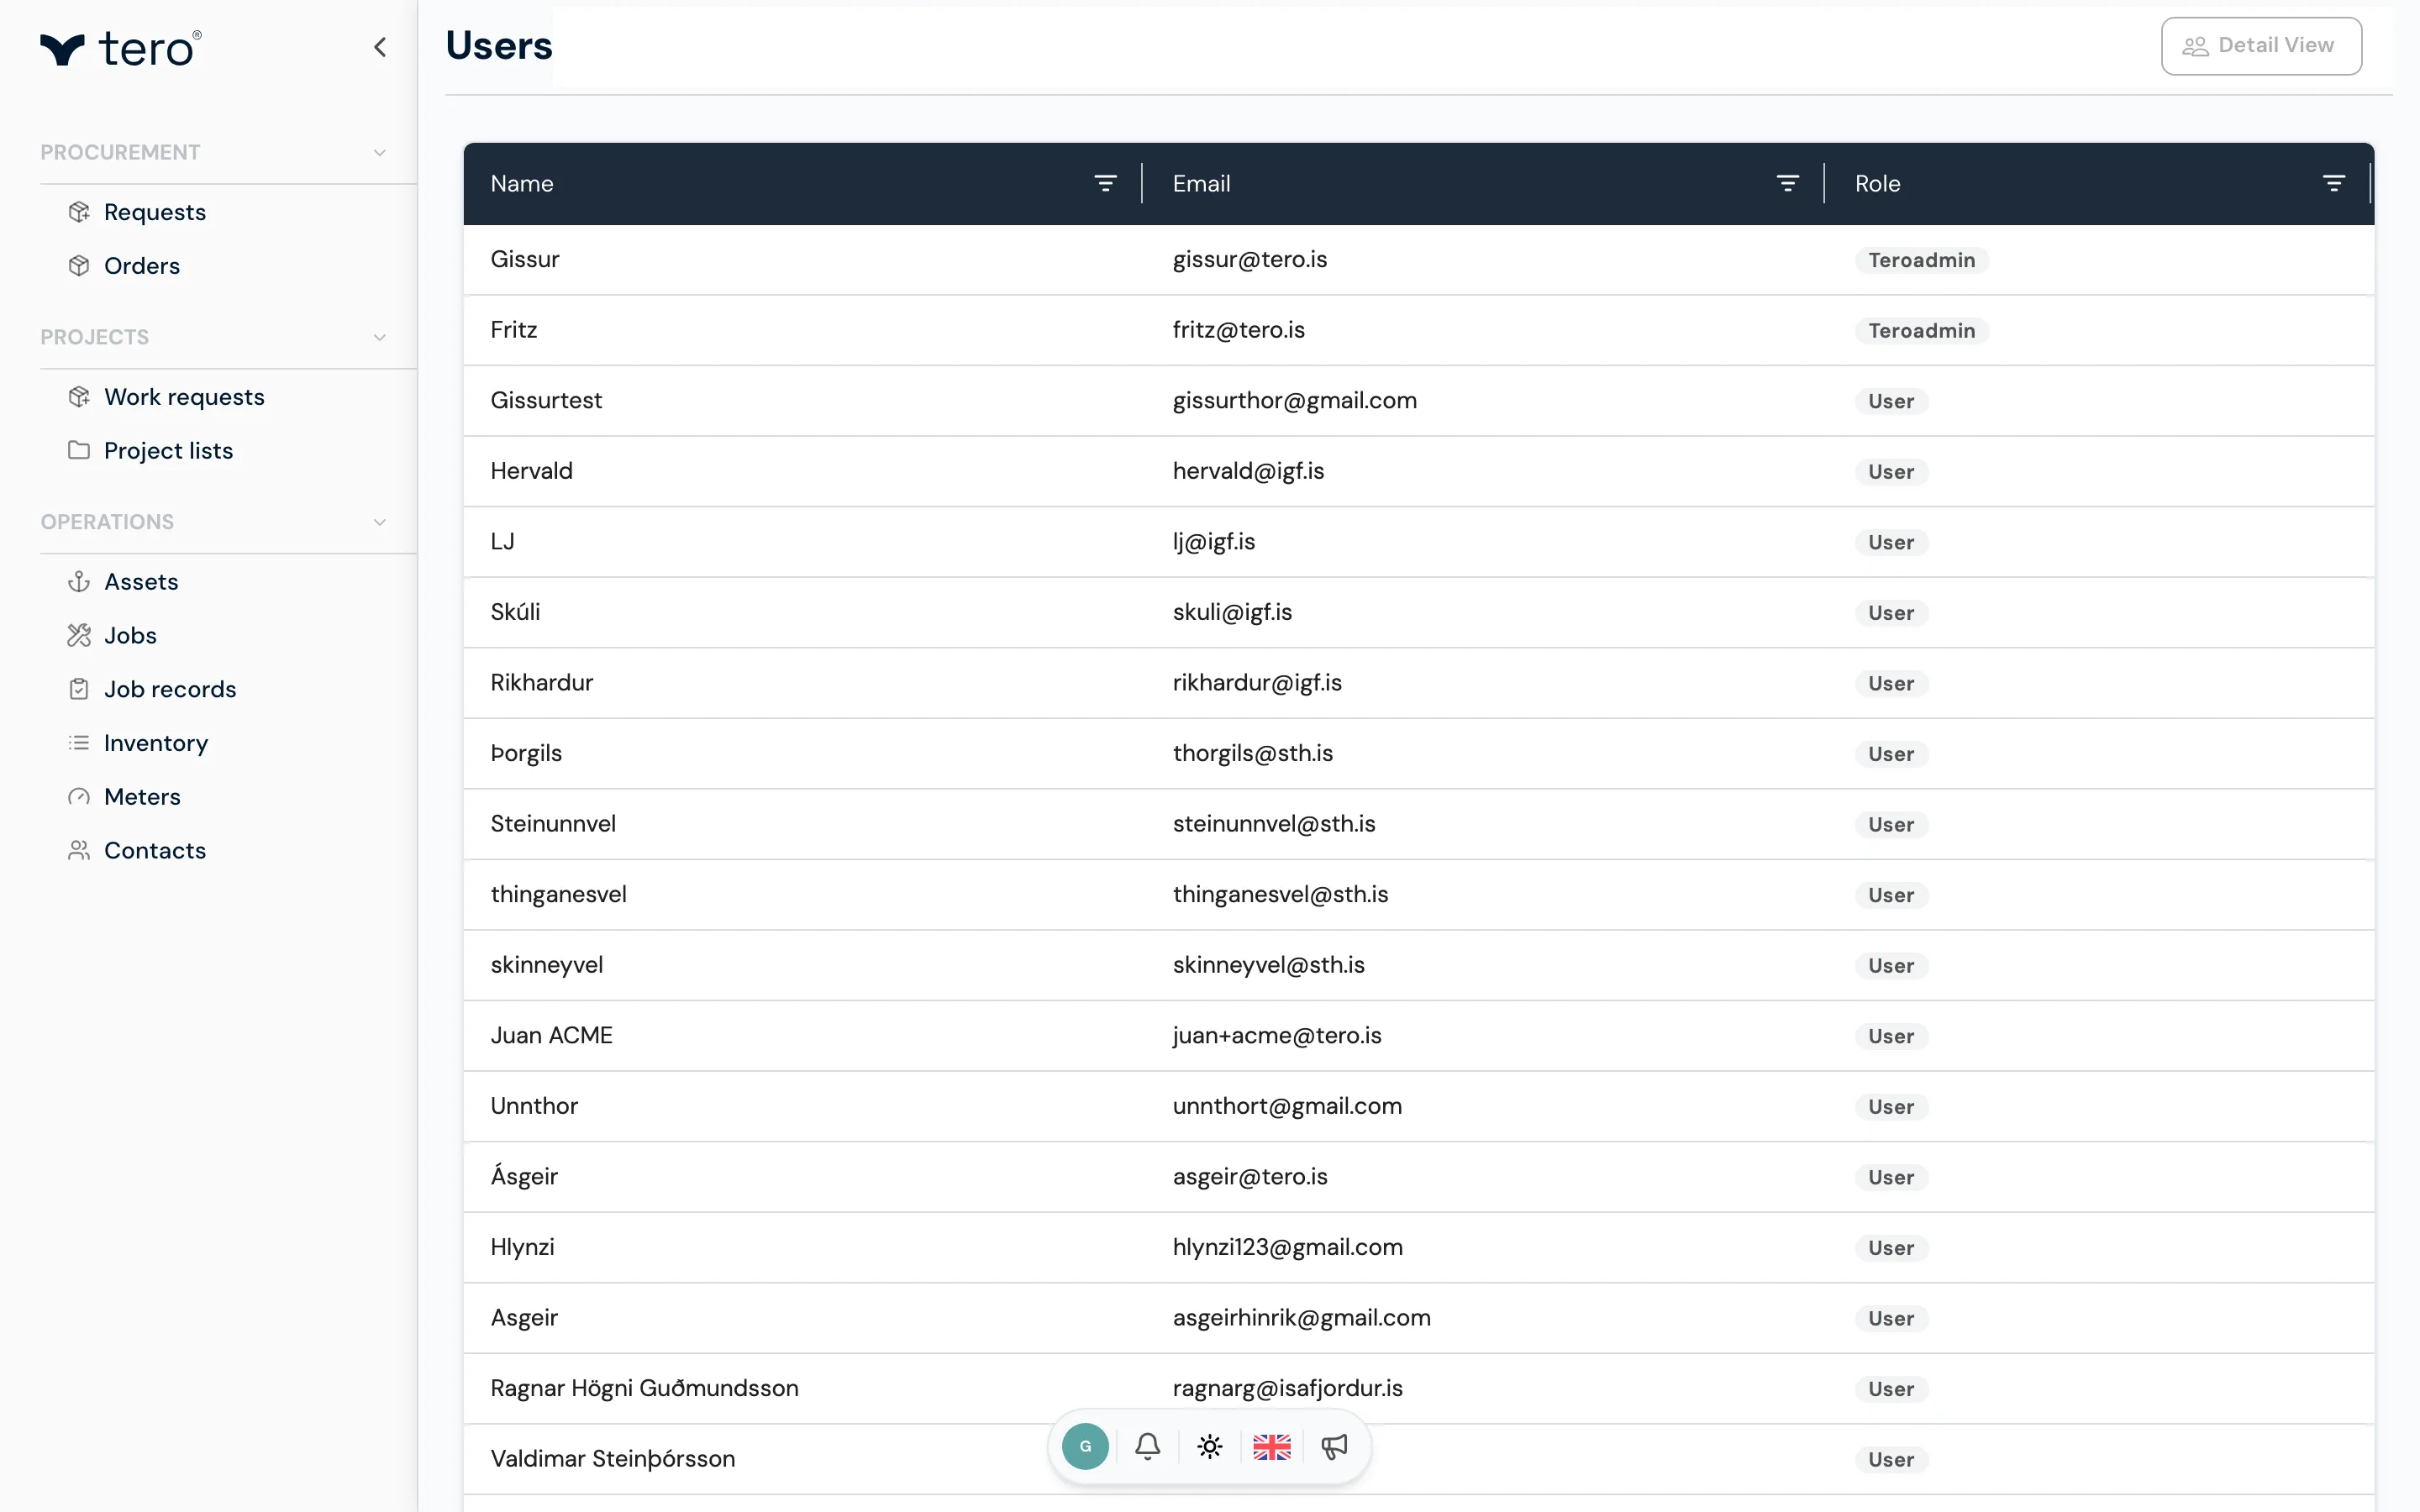
The full user list is under Company admin → Users.
From here you can search, filter by role or worksite, and open any user to edit their permissions or remove them.
Removing a user
Open the user, click More actions → Disable. The user immediately loses access; their historical records (job completions, comments, etc.) are preserved.