
Editing an asset
Editing keeps an asset’s record accurate over its working life. Names, serial numbers, locations and classifications change — keeping the record current matters because every report, search, and filter depends on it.
Entering edit mode
On an asset’s detail page, click Edit (top right). The page switches to the edit form.
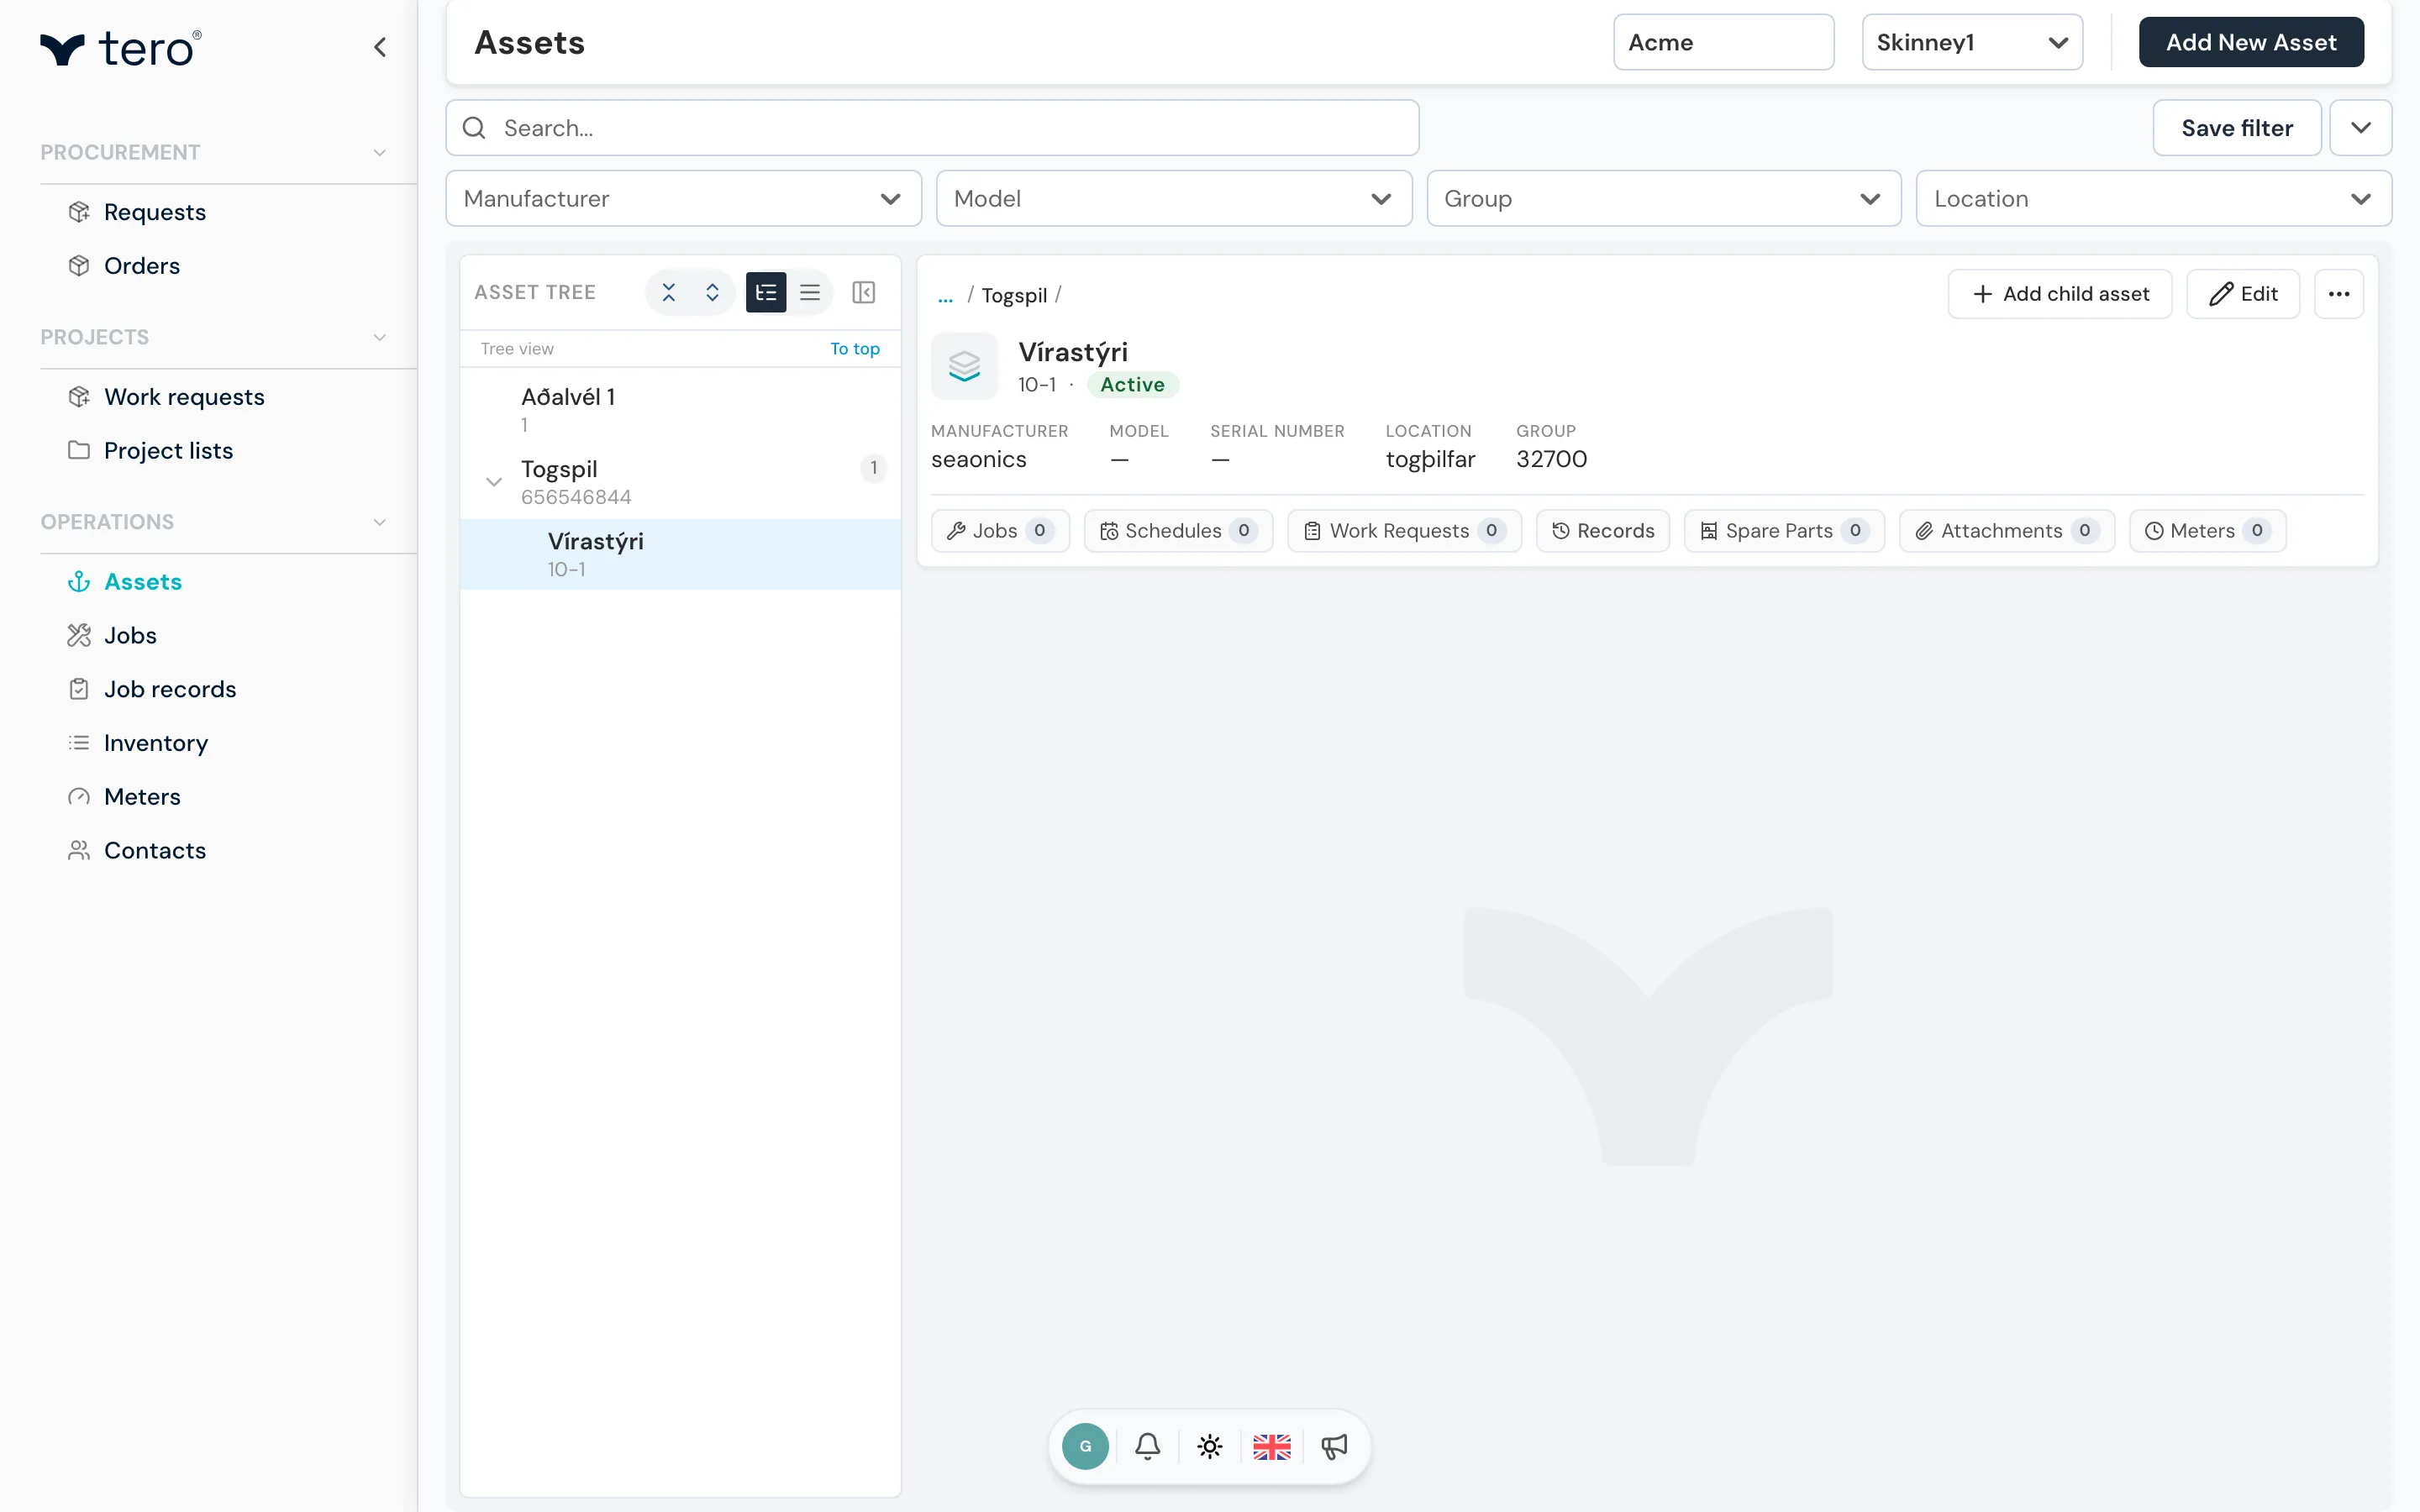
Required fields
These three fields cannot be empty:
- Asset number — the unique ID for this asset within the worksite
- Asset name — human-readable name
- Asset type — the category (Engine, Pump, Vessel, etc.)
Other fields (manufacturer, model, serial number, location, group, description) are optional but strongly recommended — every field you fill makes search and filtering more useful.
Linking to a parent
The Parent asset field is what creates hierarchy. Search and select the asset that this one sits underneath. Leave empty for a top-level asset (typically a whole vessel or site).
Note: Changing the parent moves the asset (and all its sub-assets) in the tree. Tero confirms before doing this.
Attaching documents and photos
Scroll to the Attachments section and drag files in, or click the upload area. Images, videos, PDFs up to 50 MB each.
Linking spare parts
In the Parts section, search inventory and add the parts that typically fit this asset. This makes them one-click to add when recording job completion.
Saving
Click Save changes. If validation fails (missing required field, duplicate asset number), Tero highlights the offending field. Click Discard changes to leave edit mode without saving.