
Recording job completion
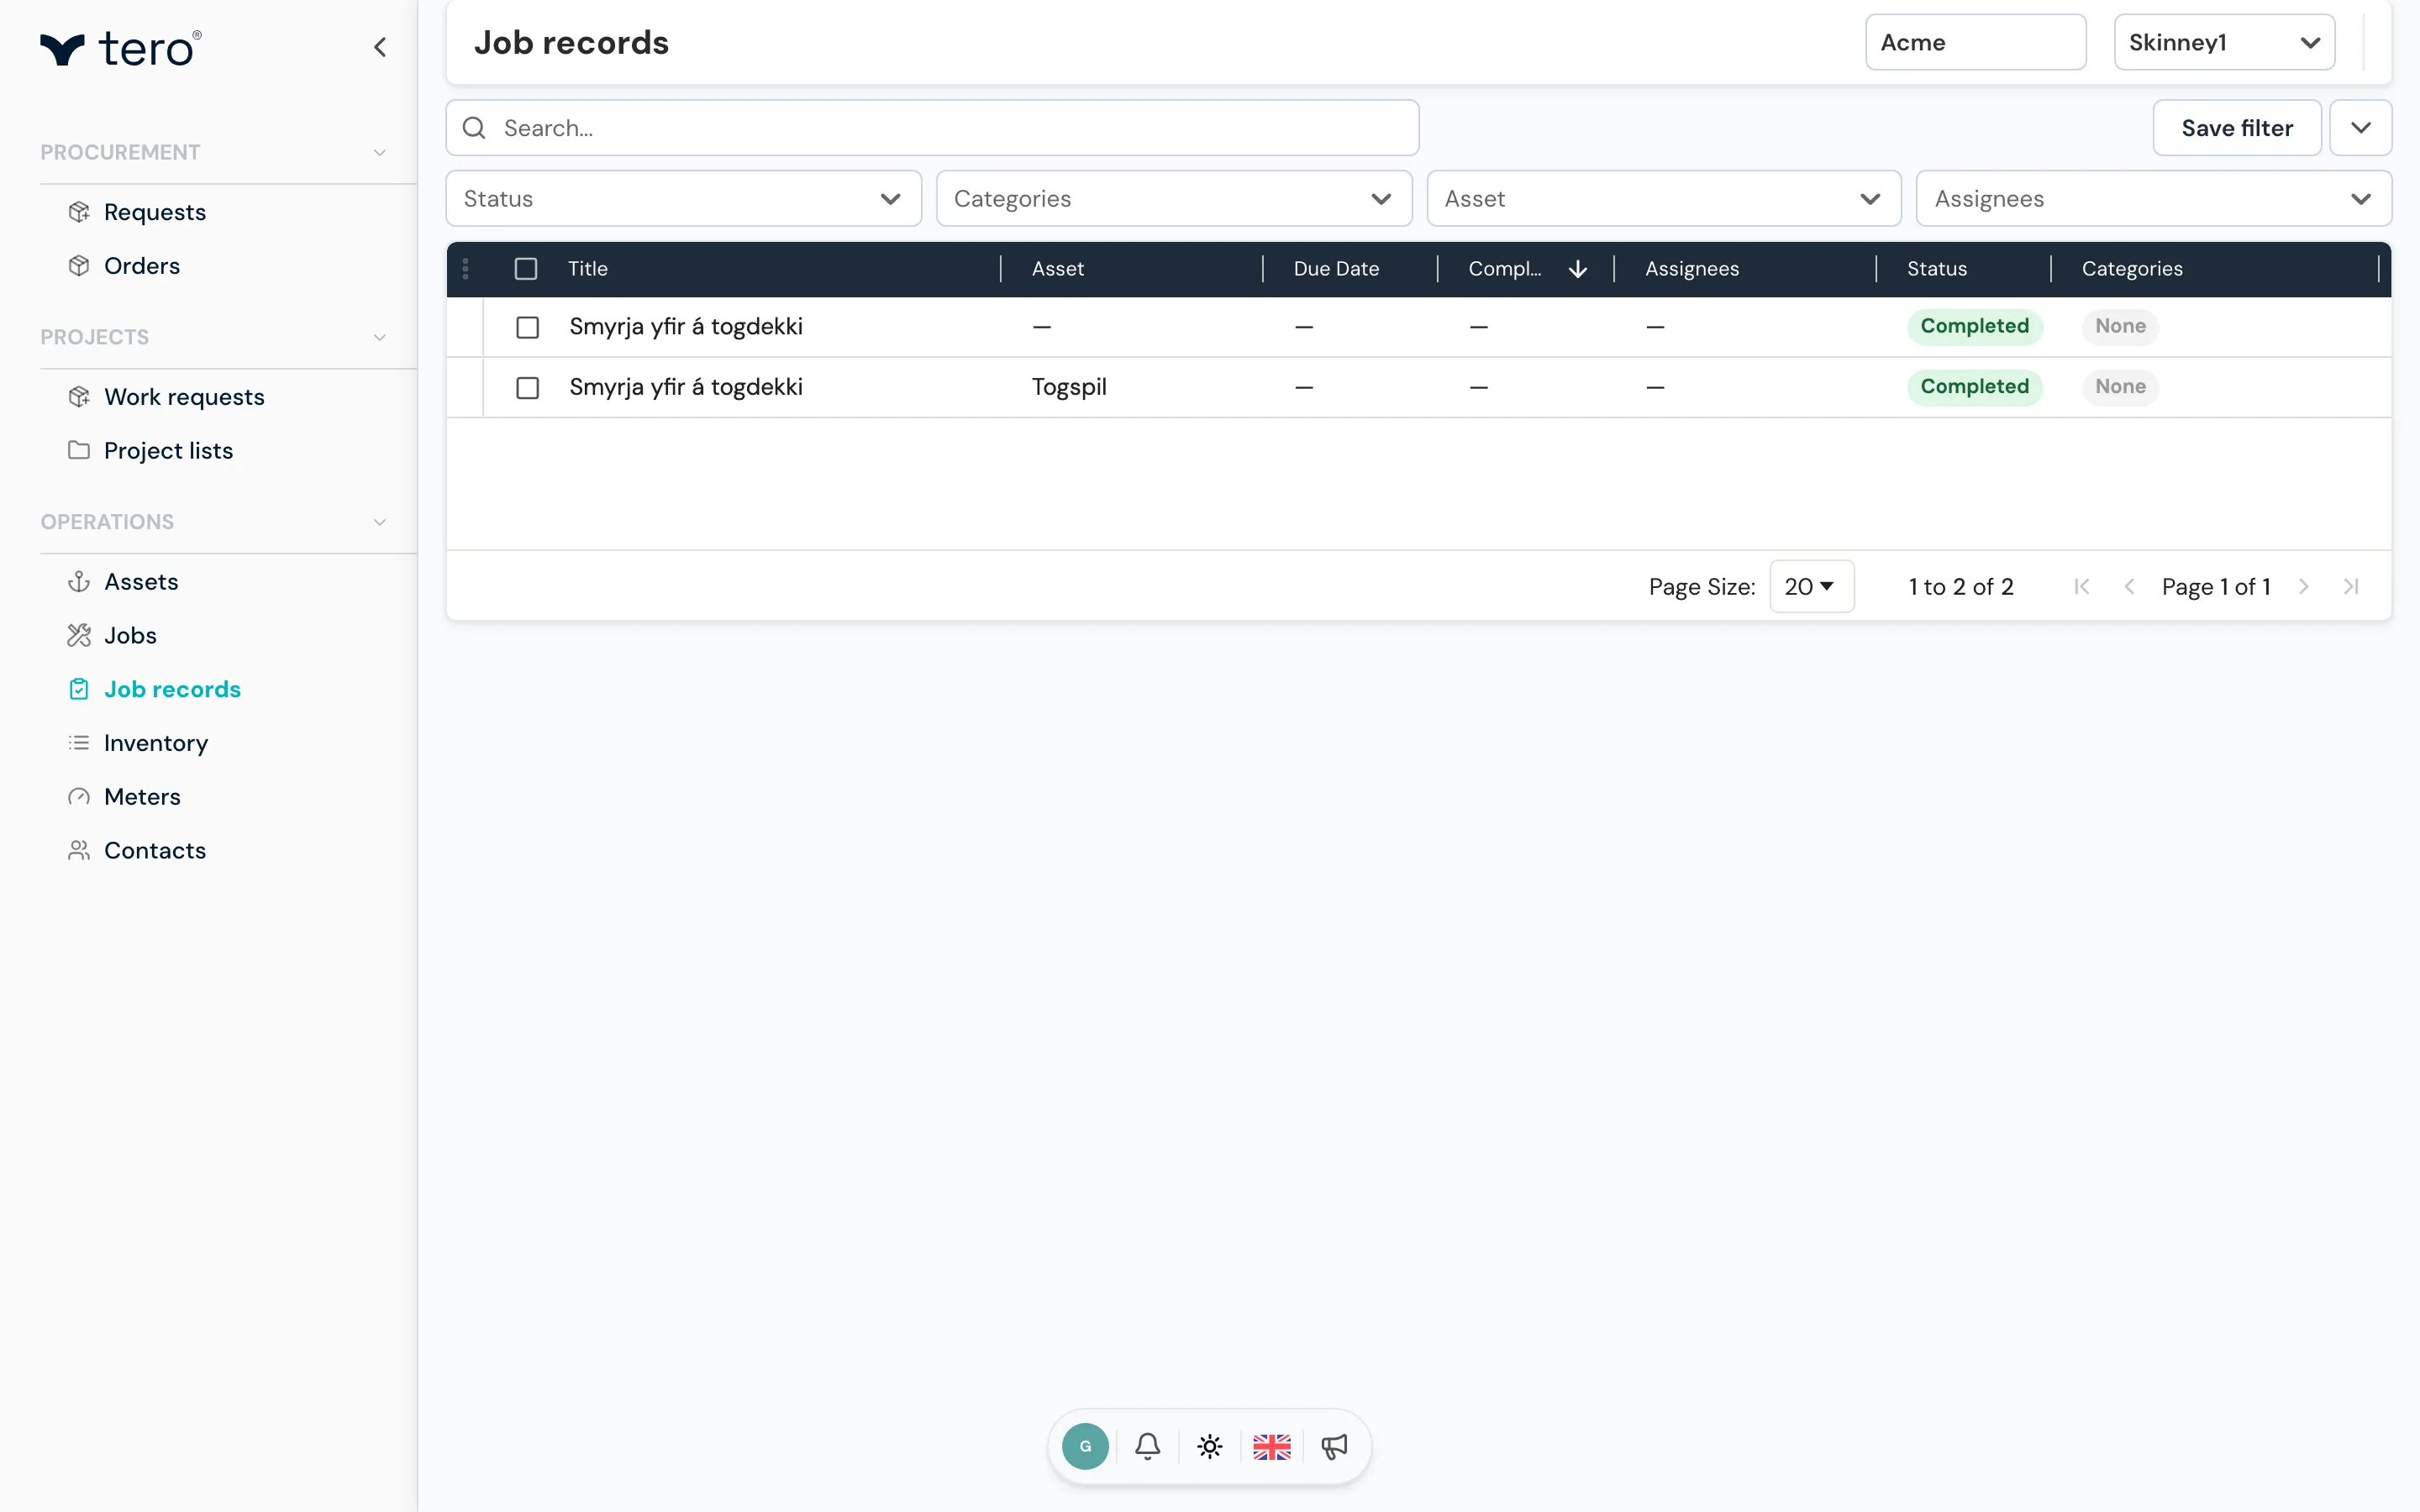
When the work is done, you record the completion. This produces a job record — the permanent log of what was done, by whom, when, with which parts, and any notes.
Opening the completion form
On the job detail page, click Complete. The completion form opens with the job’s checklist pre-filled.
Filling in the form
The form has four sections:
- Completion information — completion date, started/finished timestamps, completion report (notes)
- Parts used — every spare part consumed; pulled from your inventory
- Attachments — photos, PDFs, videos up to 50 MB each
- Asset — confirms which asset this work was on
Logging hours
Enter the estimated hours field showing how long the work took. If you used Start/Pause buttons during the job, Tero pre-fills this from the clock.
Adding photos
In Attachments, tap the upload area or drag photos in. Each photo is auto-timestamped and geolocated (if location is allowed). On mobile, the camera opens directly so you can shoot in place.
Recording parts used
In Parts used, search inventory by part name or number, set the quantity, and add. Each part added is deducted from the worksite’s stock when you submit.
Note: If a part isn’t in inventory yet, you can submit the record now and add the part later from the asset’s parts tab.
Submitting
Click Save to submit. The job status flips to Completed, the record appears in Job records, and any linked recurring job spawns the next occurrence.